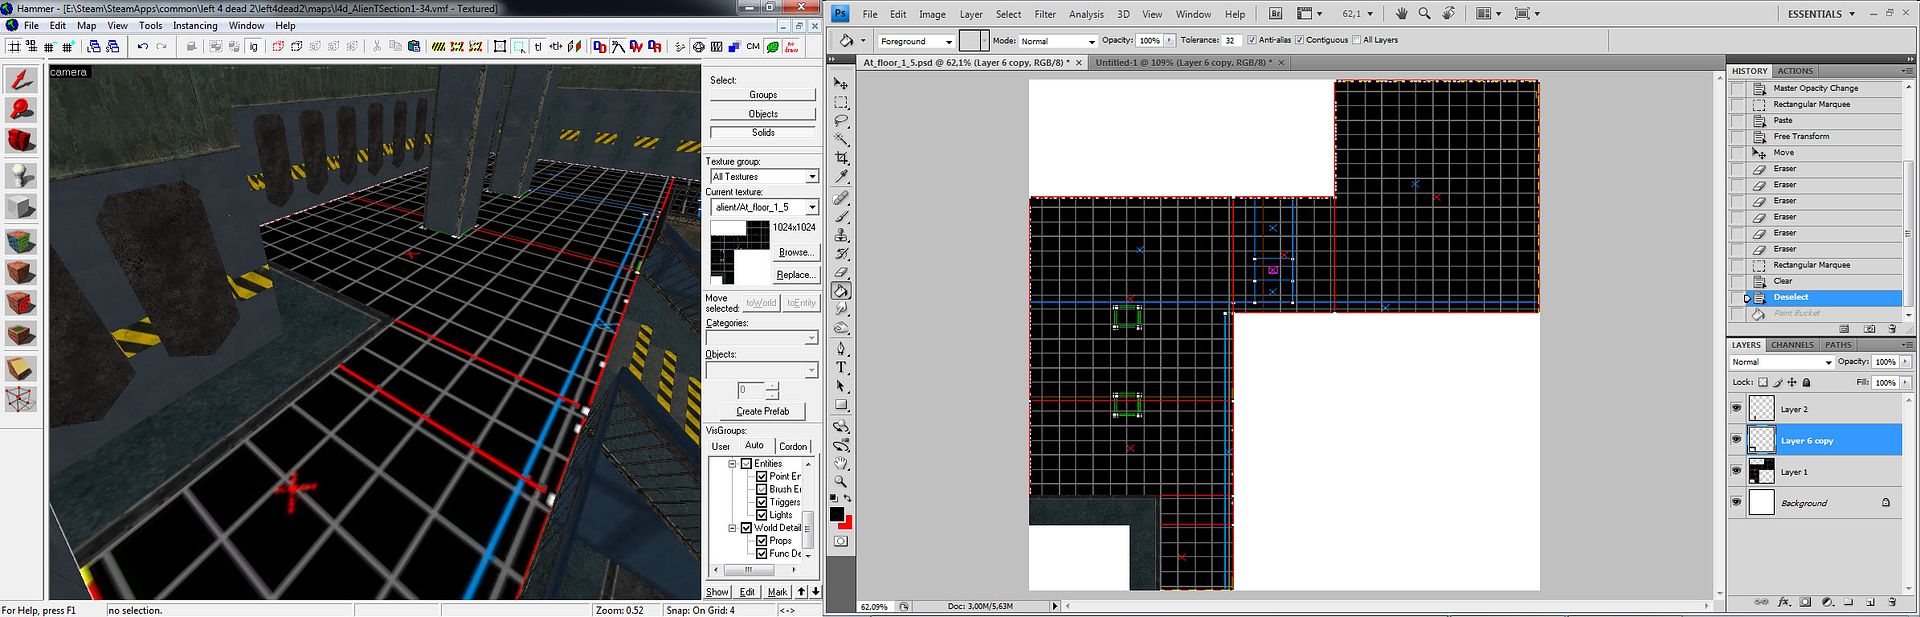
If there are any confusion about this texture map technique, read this.
On the left we have Hammer Editor, on the right Photoshop. The principle is the same here even when i create these textures for the Special Infected, but you would seen a window from Maya Instead.
That texture is 1024x1024
Select a face.
Adjust the texture so it points in the right direction.
Select the adjusted texture and Alt + Right click on all faces that are required.
Select all the faces.
Check "Treat as one" and then press"Fit".
If all the faces aren't aligned, you've done it wrong.
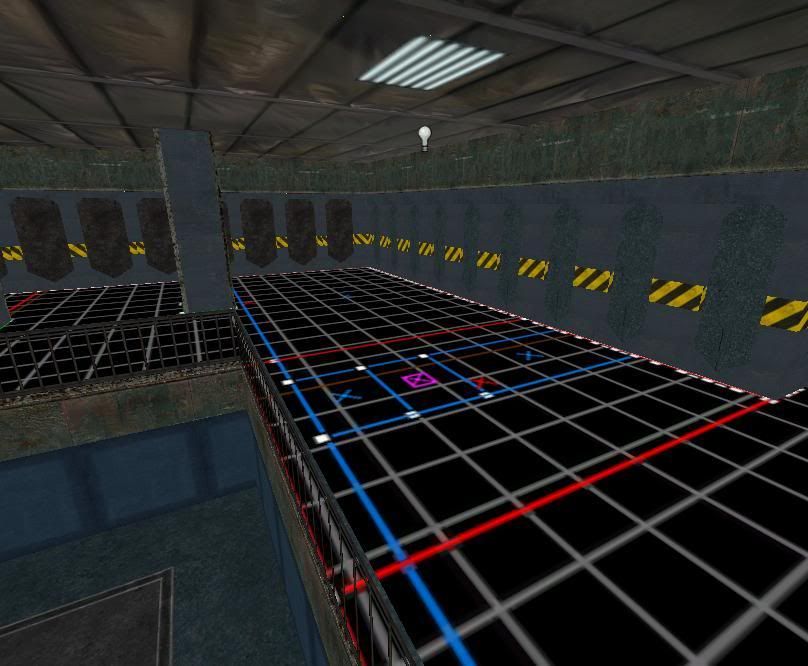
On this picture you can see the red lines from the world brush, that gives me a idea of the scale. You can also see the purple square which indicates the "light" entity above.
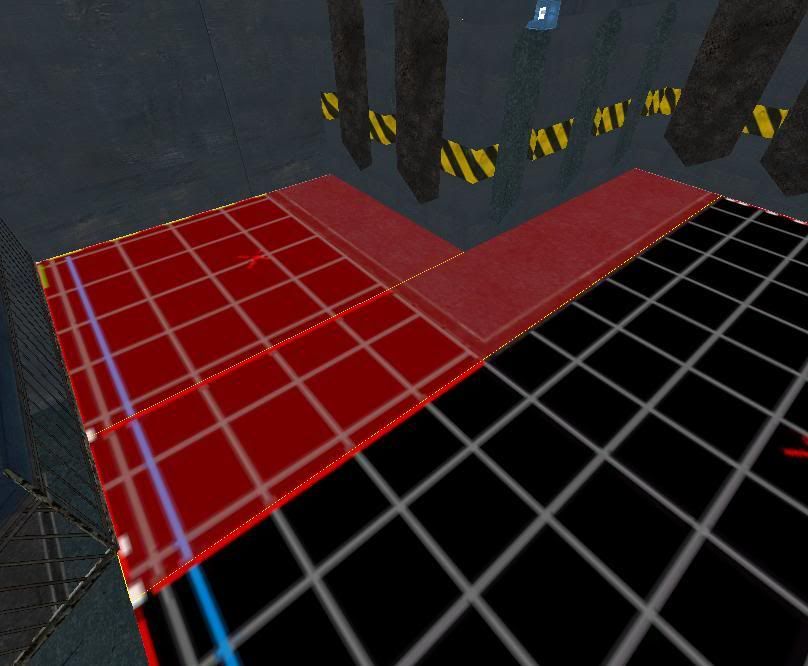
When i look at the pylons and the texture map, things are scaled / aligned properly and that means i can continue whit this.
The red highlighted area shows you two brush faces, the texture map gives me also an idea where they are and you can see where i have begun texturing.
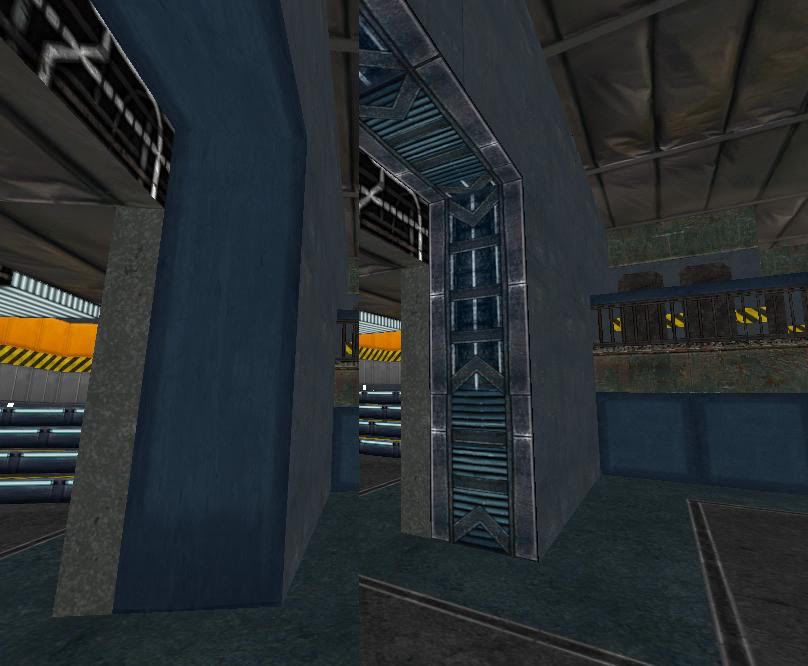
Before and After

No comments:
Post a Comment